One way to implement Videoly in your online store is with Google Tag Manager(GTM)
- Log into or create a GTM account. You can do it here.
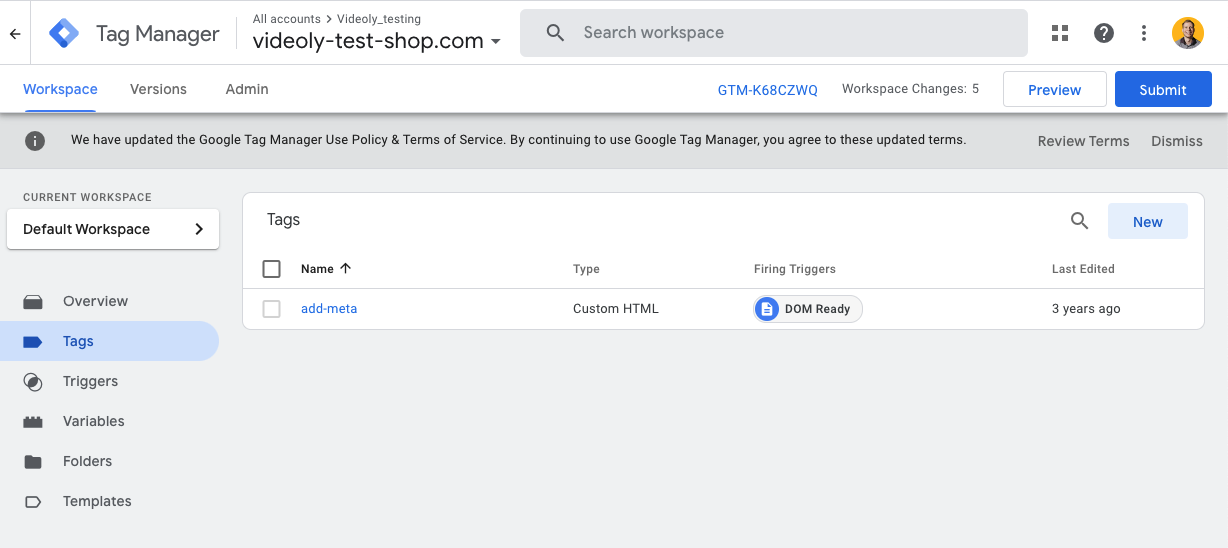
- Select the 'Add a new tag' section in Overview or select 'New' in Tags.
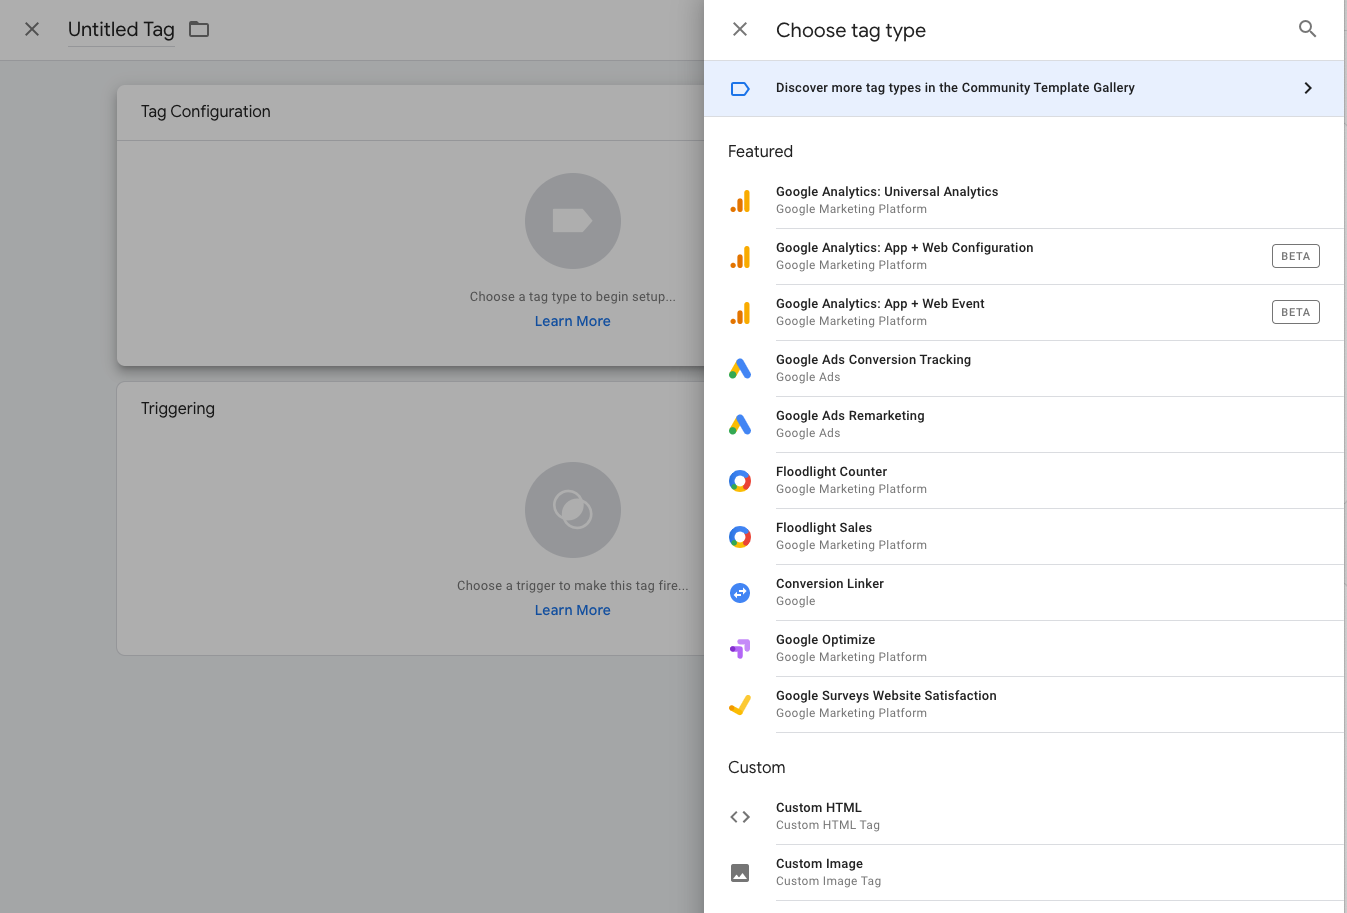
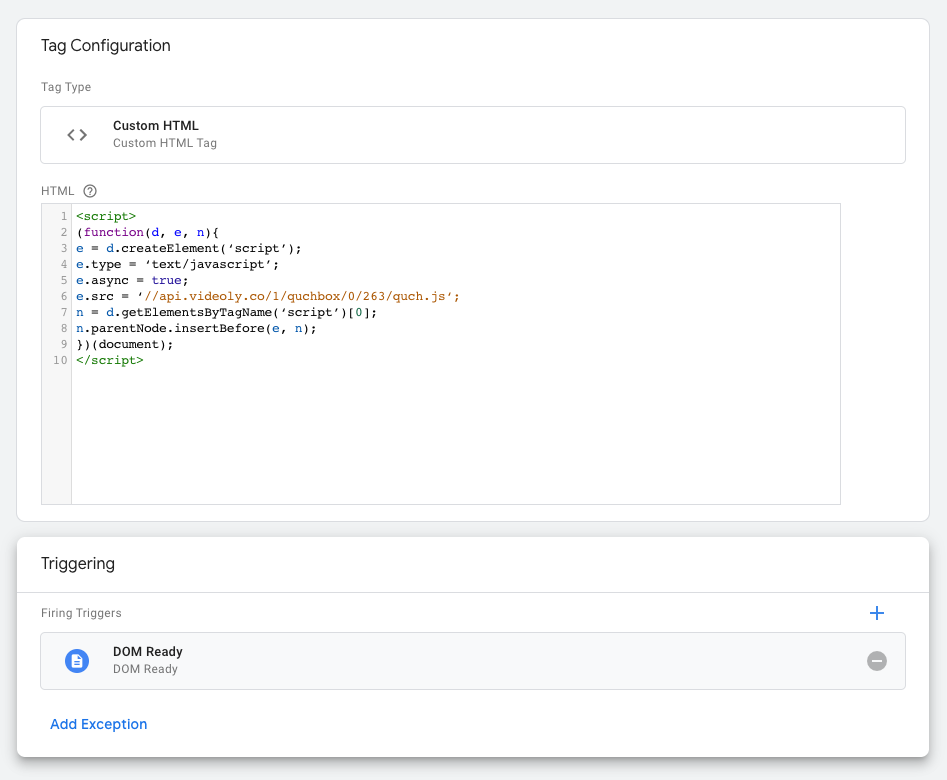
- Select 'Custom HTML' as tag type and 'DOM Ready' as triggering option.
- Copy and paste your store's unique Videoly script (tag) into the section. Click 'Save'.
- Click 'Submit' in the top right corner. And that's it -- you have successfully implemented the Videoly widget.
💡We highly recommend placing your Videoly script on all pages of your online store. This will allow you to easily manage content for PDPs and non-PDPs alike. The script will not affect pages that are not configured for the widget.
Below, you will find a more detailed step-by-step guide with screenshots.
1. Set up your GTM account
(if you already have a GTM account, go straight to step #2)
Set up an account at the GTM website

You will be asked to create a container, which is a collection of tags for a website.
You can use the domain where tags are going to be used as a name for your container.
2. Install the GTM code with the Videoly tag
We will provide you with the link to your Videoly tag (along with instructions) by email.
Simply copy the JavaScript code provided in the link.

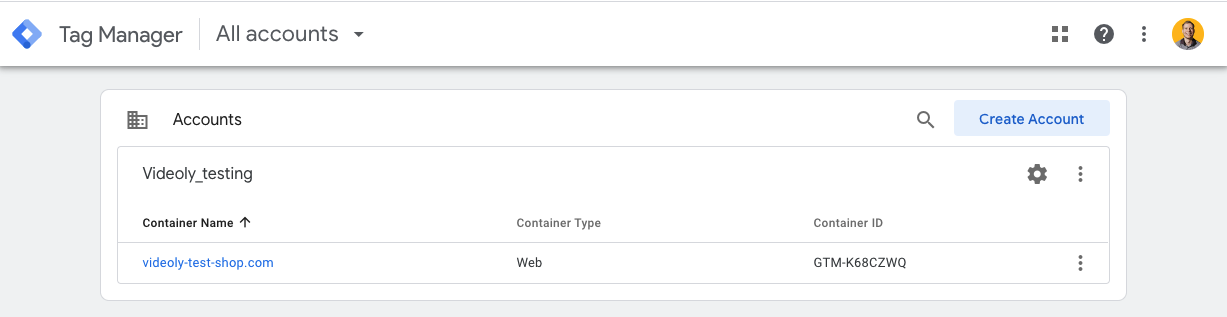
Choose your site's Google tags container
Then open the tags section and click ''New'' to add a new tag
Choose ''Custom HTML'' to configure the tag
Paste the Videoly tag into the HTML-field.
Choose ''DOM Ready'' as a triggering option.
DOM ready is the best moment to trigger and it’s perfectly fine if the widget is also triggered on non-product pages -- it will not be loaded.
Click SAVE
3. Well done, you're almost at the finish line :)
Now you can see Videoly in the list of tags

Click ''Submit'' to create the next version of your container.
- When submitting changes, GTM will ask if you want to publish it to the production environment.
- You should also add a name and description for this version: these attributes may be helpful when recalling the purpose of this tag.
- Choose the "Publish and Create Version" option and click publish.
👏 Congratulations, Videoly is installed!
Wondering what your next step might be?
Log in to your video management tool and find out how to invite more users.
Familiarise yourself with MyVideoly with our step-by-step guide.